Tag: eat Page 2 of 3

TROPICAL GREENS SMOOTHIE

During the hot summer months I enjoy starting the day with a bright and refreshing smoothie. What do you like to put in your smoothie?

Ingredients

1/2 cup diced mango

Juice of 1-2 small limes

1 peeled cucumber

1-2 green figs (Trader Joe’s has Organic Green Figs in the freezer section)

1-4 cup(s) of liquid: unsweetened almond milk, coconut water or celery water. Adjust amount of liquid to your taste and thickness desired.

Large handful of cilantro leaves (no stems please)

Large handful of baby spinach

Preparing your Tropical Greens Smoothie

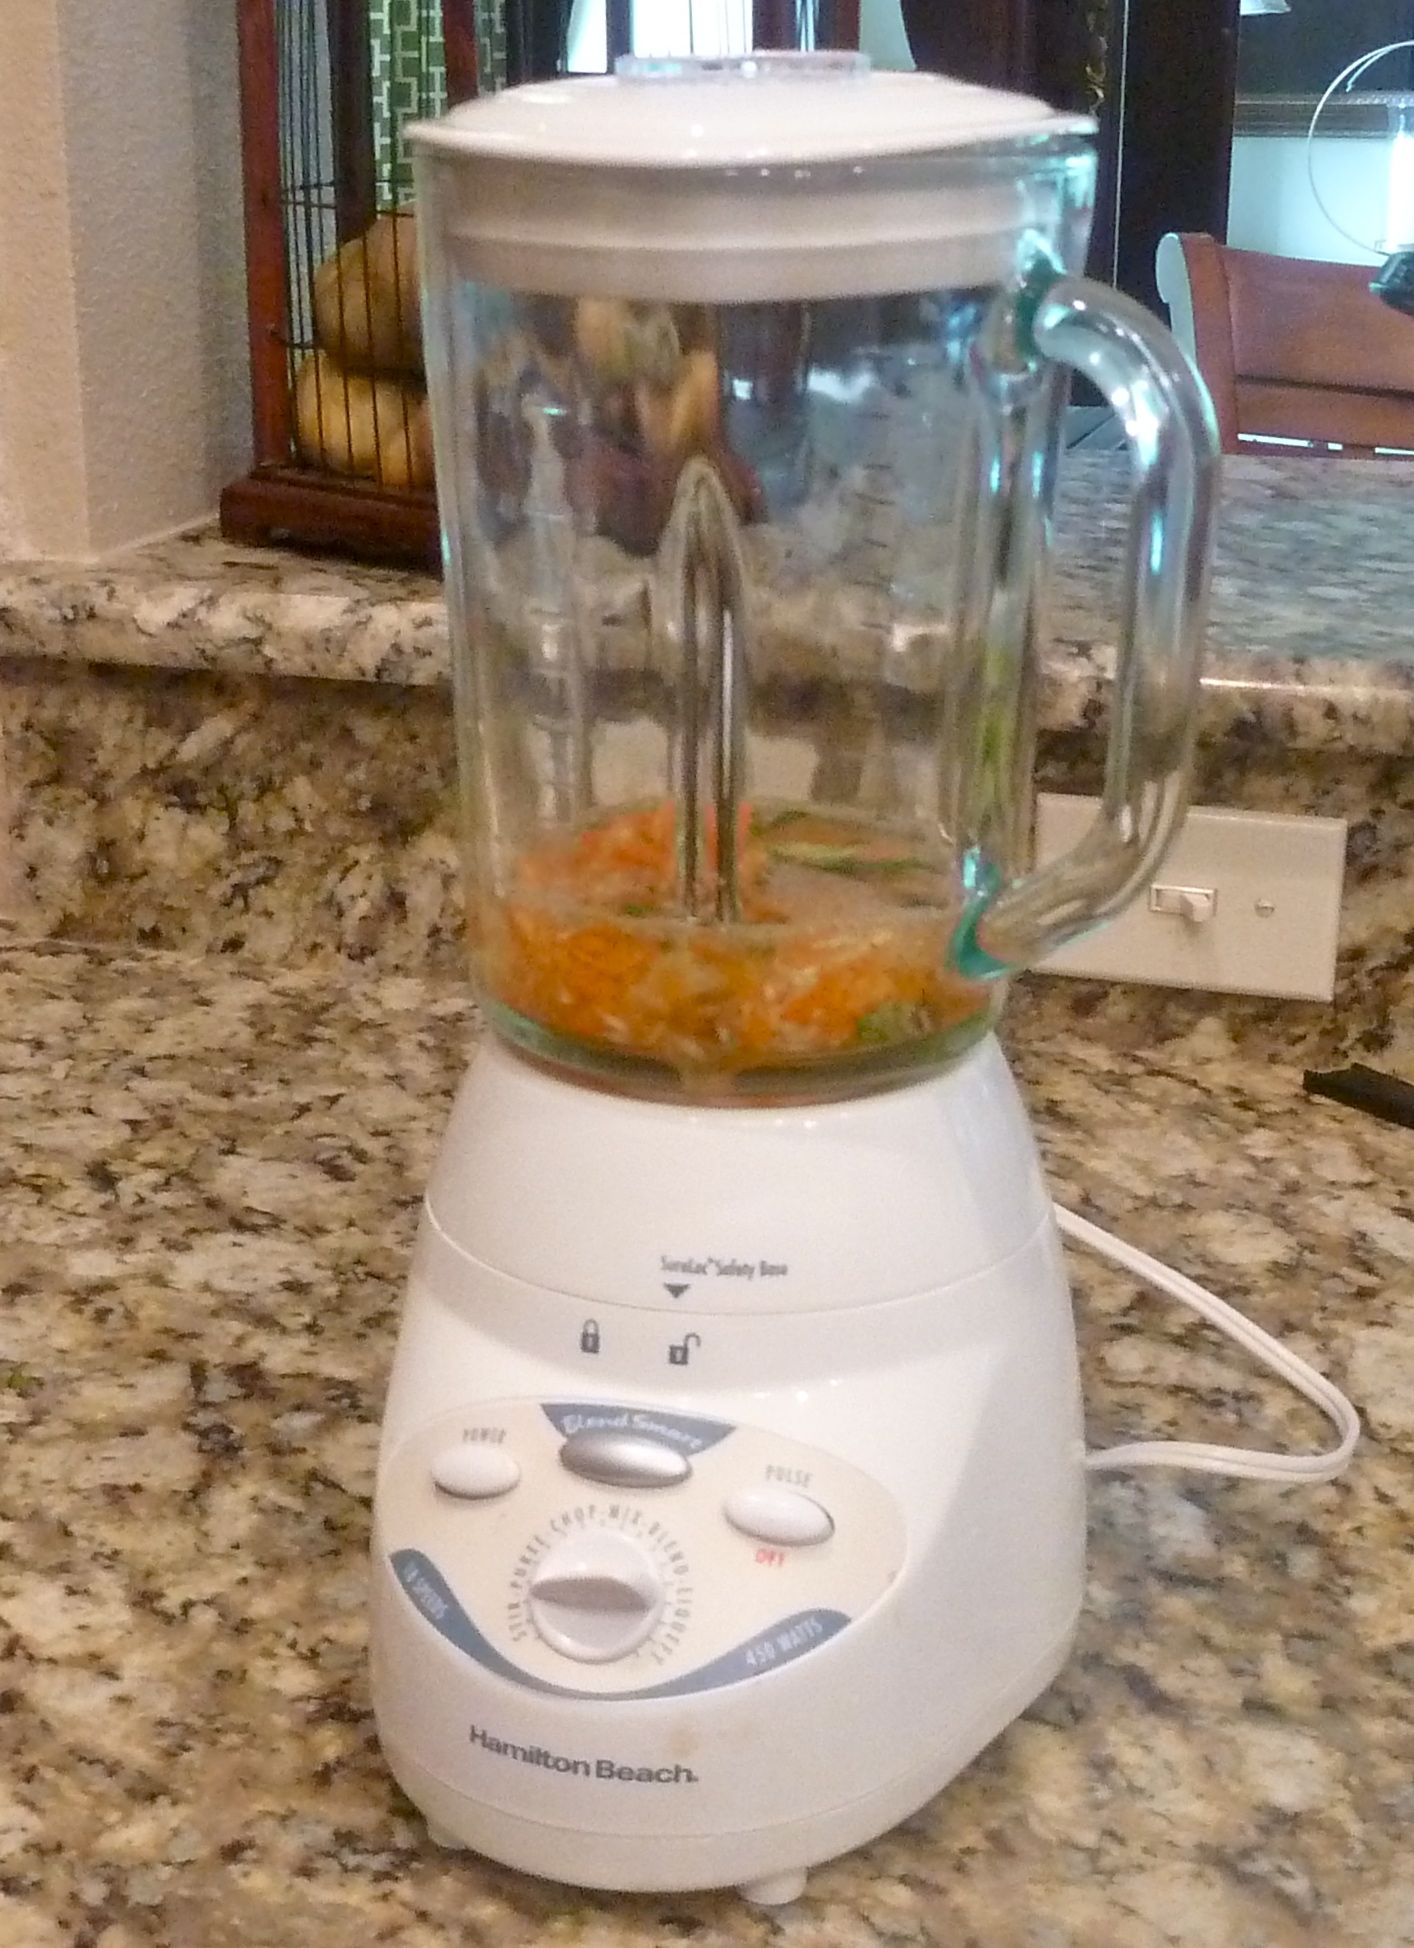
Place the cilantro leaves, cucumber, figs, baby spinach and almond milk in a blender or food processor and purée until smooth.

Add the mango and lime juice and purée once more until you get the consistency you like.

Pour your smoothie into a chilled glass and enjoy!

Blessings,

Jenna

OUT OF THIS WORLD QUINOA AND KALE SALAD

One of my clients was kind enough to share this recipe with me. It is delicious! I hope you will give it a try.

Salad Ingredients

  • 1/2 cup uncooked quinoa (or 1 1/2 cups cooked)
  • 8 ounces kale
  • 1/2 cup slivered almonds, very well toasted and cooled
  • 1/3 cup fresh pomegranate seeds
  • 2 to 3 scallions, thinly sliced
  • 2 teaspoons chopped fresh dill
  • Few gratings of fresh lemon zest

Dressing

  • 3 tablespoons olive oil
  • 1 1/2 tablespoons apple cider vinegar
  • 2 teaspoons smooth Dijon mustard
  • 1 teaspoon coarse Dijon mustard
  • 3/4 teaspoon honey
  • Celtic sea salt to taste

Directions:

  1. Rinse the quinoa to remove the bitterness.
  2. Place quinoa and 1 1/2 cups water in a small saucepan and bring to a simmer.
  3. Cover and simmer on low for about 15 to 20 minutes. Cook until tender.
  4. Drain the cooked quinoa.
  5. Put the quinoa in a salad bowl to cool (refrigerate if needed).
  6. Whisk dressing ingredients together in a small dish and set aside.
  7. Rinse the kale and dry it.
  8. Remove the rib from each stalk by cutting around the stalk.
  9. Roll the leaves tightly and cut crosswise into thin strips.
  10. Add the kale strips to the cooled quinoa.
  11. Add remaining salad ingredients.
  12. Pour the dressing over the salad.
  13. Season with Celtic sea salt to taste.

Enjoy!

Jenna

SPINACH CILANTRO MEATBALLS

I am always on the lookout for healthy, easy and practical recipes for my family. This meatball recipe is ideal because it is easy to make, delicious and can be frozen for future use! The meatballs are perfect for school lunches, summer picnics, dinner…you name it.

Ingredients:

2 pounds ground meat (grass-fed beef, organic chicken, organic dark meat turkey, bison)

1/2 of a Vidalia onion, finely chopped

1 tsp ground Celtic sea salt

1 small garlic clove, finely chopped

1 tsp cumin powder

2 cups organic baby spinach, chopped

1/2 cup fresh organic cilantro,  finely chopped

2 eggs (beaten)

Directions:

  • Preheat oven to 400F.
  • Line a baking sheet with unbleached parchment paper.
  • Mix all the ingredients in a large bowl.
  • Roll the mixture into medium-sized balls and place on the baking sheet.
  • Bake for 25 minutes, until cooked all the way through and meatballs are beginning to brown.

Serves: about 30 medium meatballs

Tip: The meatballs can be frozen in an airtight container for future meals. Just re-heat them in the oven and they are ready to be enjoyed!

Blessings,

Jenna

GRANNY SMITH CHICKEN RECIPE

This tasty dish is easy to make and is a big hit with my children! The combination of tartness from the Granny Smith apple mixed with the chicken is delicious.

Ingredients

  • Chicken tenderloins  (2 packages)
  • Freshly ground pepper, to taste
  • Sea salt, to taste
  • 2T. coconut oil.
  • 1 medium onion thinly sliced
  • 1 lg clove garlic, minced
  • 2T. coconut aminos
  • 1T. minced fresh parsley or 1t. dried parsley flakes
  • 1/2t. thyme leaves
  • 1 large Granny Smith green apple, peeled, cored and cut into thin wedges
  • 4 cups fresh organic baby spinach

Directions

  1. Season the chicken with pepper and salt.
  2. Melt the coconut oil in a large skillet that has a cover, and brown the chicken pieces well on both sides.
  3. Remove the chicken from the skillet and set aside.
  4. Add the onion and garlic to the skillet and sauté until translucent.
  5. Add the apples, coconut aminos, parsley and thyme and cover the skillet. Cook for 5 minutes.
  6. Add  the browned chicken and fresh spinach and simmer for an extra 5 minutes.

I hope you enjoy this recipe as much as my children do!

Jenna

SCRUMPTIOUS GLUTEN-FREE APPLE WALNUT CAKE

Craving bread, but not the gluten? Try this fragrant, high-protein apple and walnut cake. It’s gluten-free and delicious!

Ingredients:

  • 2 cups ground almonds
  • 1 cup chopped walnuts
  • 2 tbsp ground flaxseed
  • 1 tbsp ground cinnamon
  • 2 tsp aluminum free baking powder
  • ½ tsp sea salt
  • 2 eggs
  • 1 cup unsweetened organic apple sauce
  • 1/2 cup walnut oil (or use coconut oil)
  • Coconut oil for greasing the loaf pan
  • 1/4 cup of coconut milk

Directions:

Preheat the oven to 325F. Coat a 9×5 loaf pan liberally with coconut oil.

Combine 2 cups ground almonds, 1 cup chopped walnuts, 2 tbsp ground flaxseed, 1 tbsp cinnamon, 2 tsp aluminum free baking powder and ½ tsp salt in a bowl and mix.

In another bowl, combine 2 eggs, 1 cup unsweetened organic apple sauce, 1/2 cup walnut oil (or use coconut oil) and 1/4 cup of coconut milk. Pour the mixture into the dry ingredients and stir. If the mixture is very stiff, add 1 to 2 tbsp more of coconut milk.

Press the dough into the pan and bake for about 45 minutes. Check the cake by poking it with a toothpick. If the toothpick comes out clean, it is done.

Leave to cool for 20 minutes, then turn out. Slice and serve.

Enjoy!

Jenna

COMFORT FOOD – GF/CF CHICKEN POT PIE

Are you looking for a gluten-free, casein free, comfort food recipe? How about chicken pot pie?  Creamy gravy…a golden, crisp crust…tender, flavorful vegetables. Yum,  it just doesn’t get much better than chicken pot pie! And just because it is gluten and casein free doesn’t mean it’s not as delicious or as good as mom used to make.

Ingredients

1 lb organic chicken breasts (shredded or cut into bite sized pieces)

1 carrot, peeled and diced

1 yellow onion, peeled and diced

4 cups chopped kale or collard greens (stems removed)

1 large celery stalk, diced

½ cup chopped broccoli

4 tablespoons coconut oil

3 cups chicken stock (if not homemade, check ingredients of stock to make sure it is GF/CF)

1 tablespoon parsley

1 tablespoon fresh thyme, chopped

2 tablespoons arrowroot powder

3 tablespoons water or cooked liquid from pot

Salt and Pepper to taste

Crust

1 cup almond flour

1 teaspoon baking powder

1 teaspoon celtic salt

1 teaspoon baking powder

3 eggs

½ cup coconut oil (or butter if you do not have issues with casein)

Directions

Preheat oven to 400F.

In a large pot with a lid, heat 2 tablespoons coconut oil over medium-high heat. Once the oil is heated, add the chicken breasts. Brown the chicken, 8 to 10 minutes per side (until it is no longer pink in center). Remove the chicken from the pot and set aside.

Add the remaining 2 tablespoons of coconut oil and vegetables to your pot. Stir the vegetables around until the onions start to turn translucent, about 5 minutes.

Add the chicken stock and bring the liquid to a simmer. Simmer vegetables for 5 minutes.

Shred the chicken and add it to the pot.

In a small bowl whisk together the arrowroot powder with 3 tablespoons of water or 3 tablespoons liquid from the pot. When the arrowroot is mixed well (no clumps), add the mixture to the pot.

Stir the vegetable mixture until the broth thickens.

Remove from the heat and transfer to a Pyrex of Stoneware baking dish.

Crust Topping

Soften coconut oil (or butter if recipe does not need to be casein free) and add it to your mixer bowl with the almond flour, salt and baking powder.

Mix together until all the ingredients are evenly combined. (I use my BlendTec Blender for this; you can also just stir with a fork if you do not have a mixer).

Add the eggs and mix well.

If you make this ahead of time, keep refrigerated until ready to bake.

Top your veggie mixture with the dough.

Bake at 400 F for 15 minutes, or until the top is golden brown.

Enjoy!

Jenna

ALMOND MEAL CRANBERRY PANCAKES

Ingredients

2 cups almond meal (or 1 ¾ cups almond flour and ¼ cup Millet flour)

½ c finely shredded unsweetened coconut

3 eggs

1 cup Native Forest coconut milk

2 T. coconut oil

1 apple, peeled and grated

¼ tsp fine Celtic or Himalayan salt

½ to 1 cup fresh or frozen organic cranberries (or other berries of choice)

Directions

  1. Add all ingredients (except cranberries) to blender and mix well
  2. Stir in ½ of cranberries
  3. Scoop 2 tablespoons of batter onto a medium griddle greased with coconut oil. Cover pancakes while cooking to help them cook evenly all the way through. Make sure the pancakes are browned well before flipping.

Toppings

  • Syrup – I love maple syrup, however, I do try to limit sugar for myself and my family. I mix warmed coconut oil or cool/room temperature organic flaxseed oil with a small amount (about 1 tsp) maple syrup and pour over pancakes. This tastes sweet like syrup without all the sugar, but with the added benefits of the healthy oil.
  • Blueberries
  • Walnuts
  • Poached egg
  • Sliced avocado and a small dollop of pesto
  • Sliced avocado with dollop of lemon dill mayo
  • Dairy free yogurt and berries–unsweetened coconut or almond milk yogurt topped with raspberries is my current favorite

Adapted from Everyday Paleo by Sara Fragoso

Enjoy!

Jenna

SUNSHINE BLEND CULTURED VEGETABLES RECIPE

Raw cultured vegetables have been around for thousands of years. The fermented vegetables are: rich in lactobacilli and enzymes, alkaline-forming, and loaded with vitamins.

Cultured vegetables are made by shredding vegetables, adding a culture starter, and then packing them tightly into a sterilized, airtight, glass container. They are left to ferment at room temperature for 5 days or longer. Friendly bacteria naturally present in the vegetables quickly lower the pH, making a more acidic environment so the bacteria can reproduce. The vegetables become soft, delicious, and have a slightly pickled taste.

You can benefit by adding cultured vegetables to your diet because they:

  • Help re-establish a healthy inner ecosystem.
  • Stimulate digestion and ensure your food moves through your digestive tract with ease. Cultured vegetables are pre-digested through the fermentation process and are easy for the body to digest.
  • Are alkalizing and very cleansing. They help restore balance if your body is in a toxic, acidic condition.
  • Promote healthy skin and anti-aging.

Sunshine Blend Cultured Vegetables

  • 1 pound organic carrots, scrubbed and trimmed
  • 1 bunch golden beets, peeled
  • 1 large or 2 small sweet potatoes
  • 2 medium onions, peeled
  • 
1-2 organic cucumbers
  • 1 bunch celery, cleaned and trimmed
  • 
½ bunch cilantro, washed and drained, stems removed
  • 1 large or 2 small heads of cabbage, washed (make sure to hold aside at least one leaf of cabbage for each jar of cultured veggies)
  • fresh grated ginger to taste
  • 1 Granny Smith apple
  • honey
  • 
Body Ecology culture starter
  • distilled water or RO water
  • 3 or 4 mason jars (1 quart each)
  • 
food processor
  • 
blender
  • 
cutting board
  • 
good vegetables knives
  • 
1-2 large bowls (you can also use a large stock pot)
  • 
1 small glass bowl and some honey for the culture starter (do not use a metal bowl or utensils)
  • 
1 large pot of boiling water, optional (for sterilizing all equipment)
  • 
several clean kitchen towels

DIRECTIONS

  1. Fill a large pot with water and start heating to bring water to a boil. (Boiling water will be used to sterilize the mason jars!)
  2. While the water is heating, gather together all the equipment and vegetables.  Trust me, this will save you a lot of time!
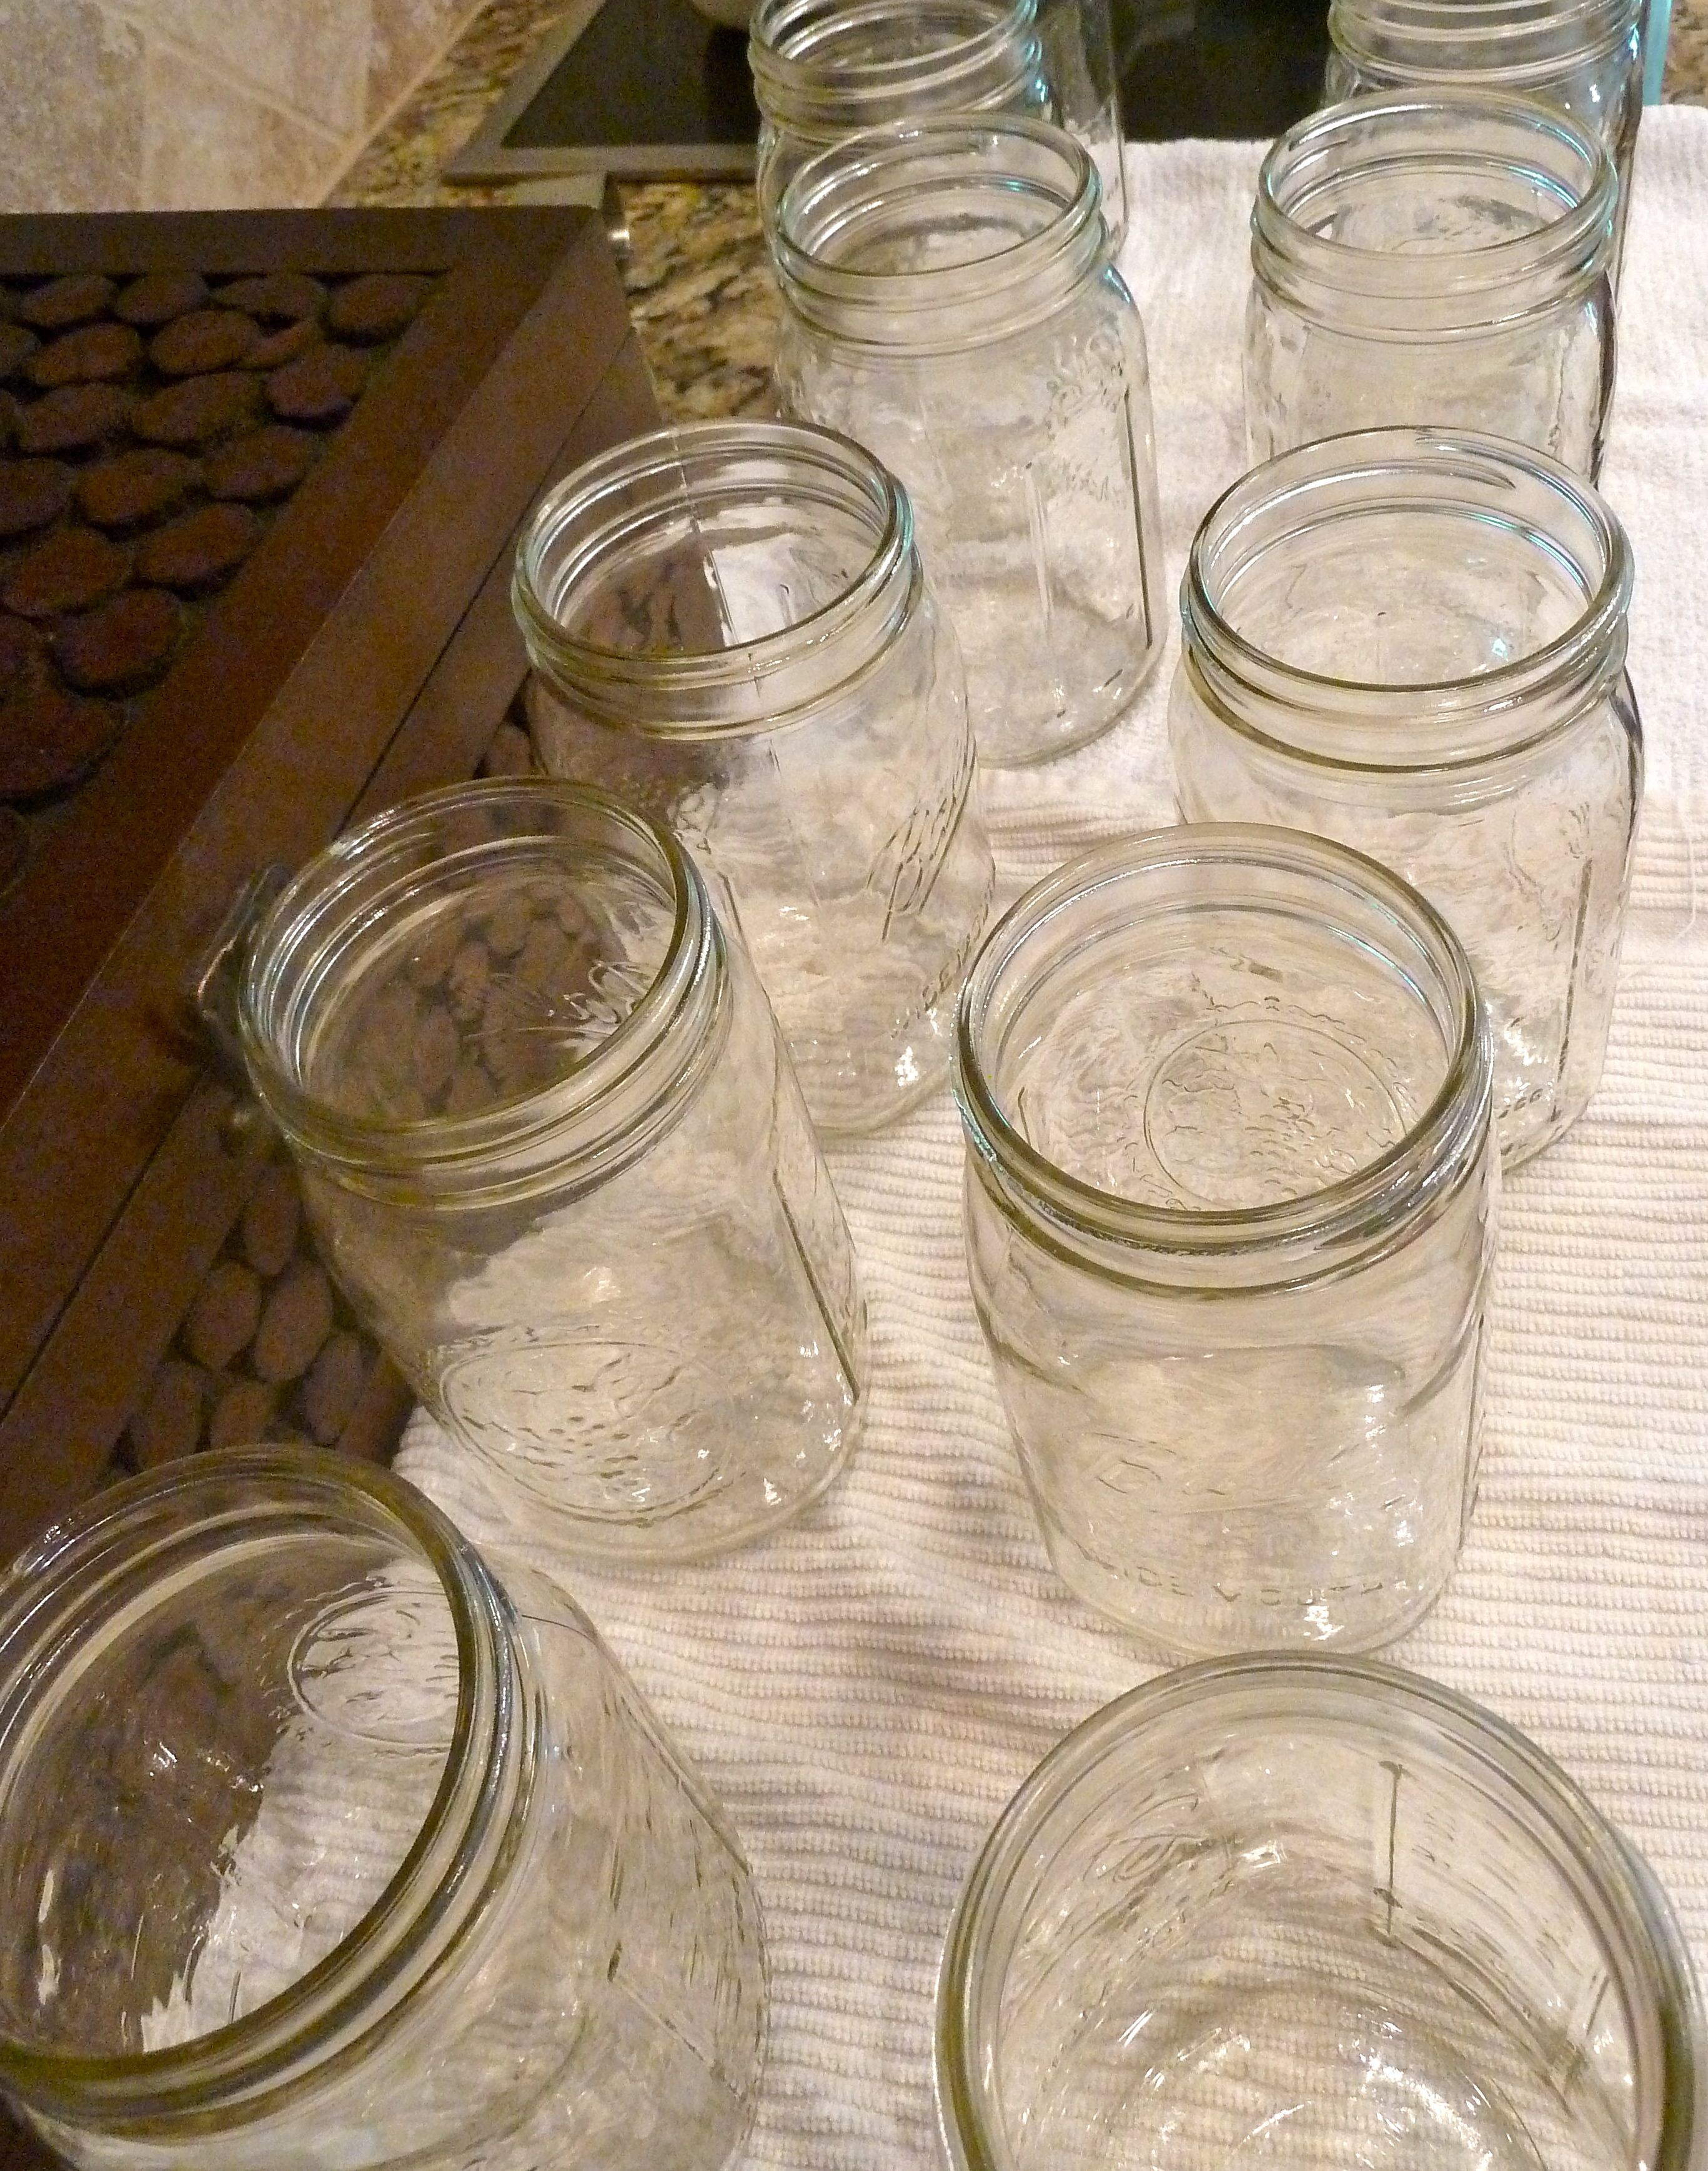
  3. Sterilize your mason jars and lids by placing in the boiling water for a few seconds. Using long tongs, dip each piece into the water.  Set aside the jars and lids (right side up so that air can get in) on a clean towel for the water to evaporate.glass jar
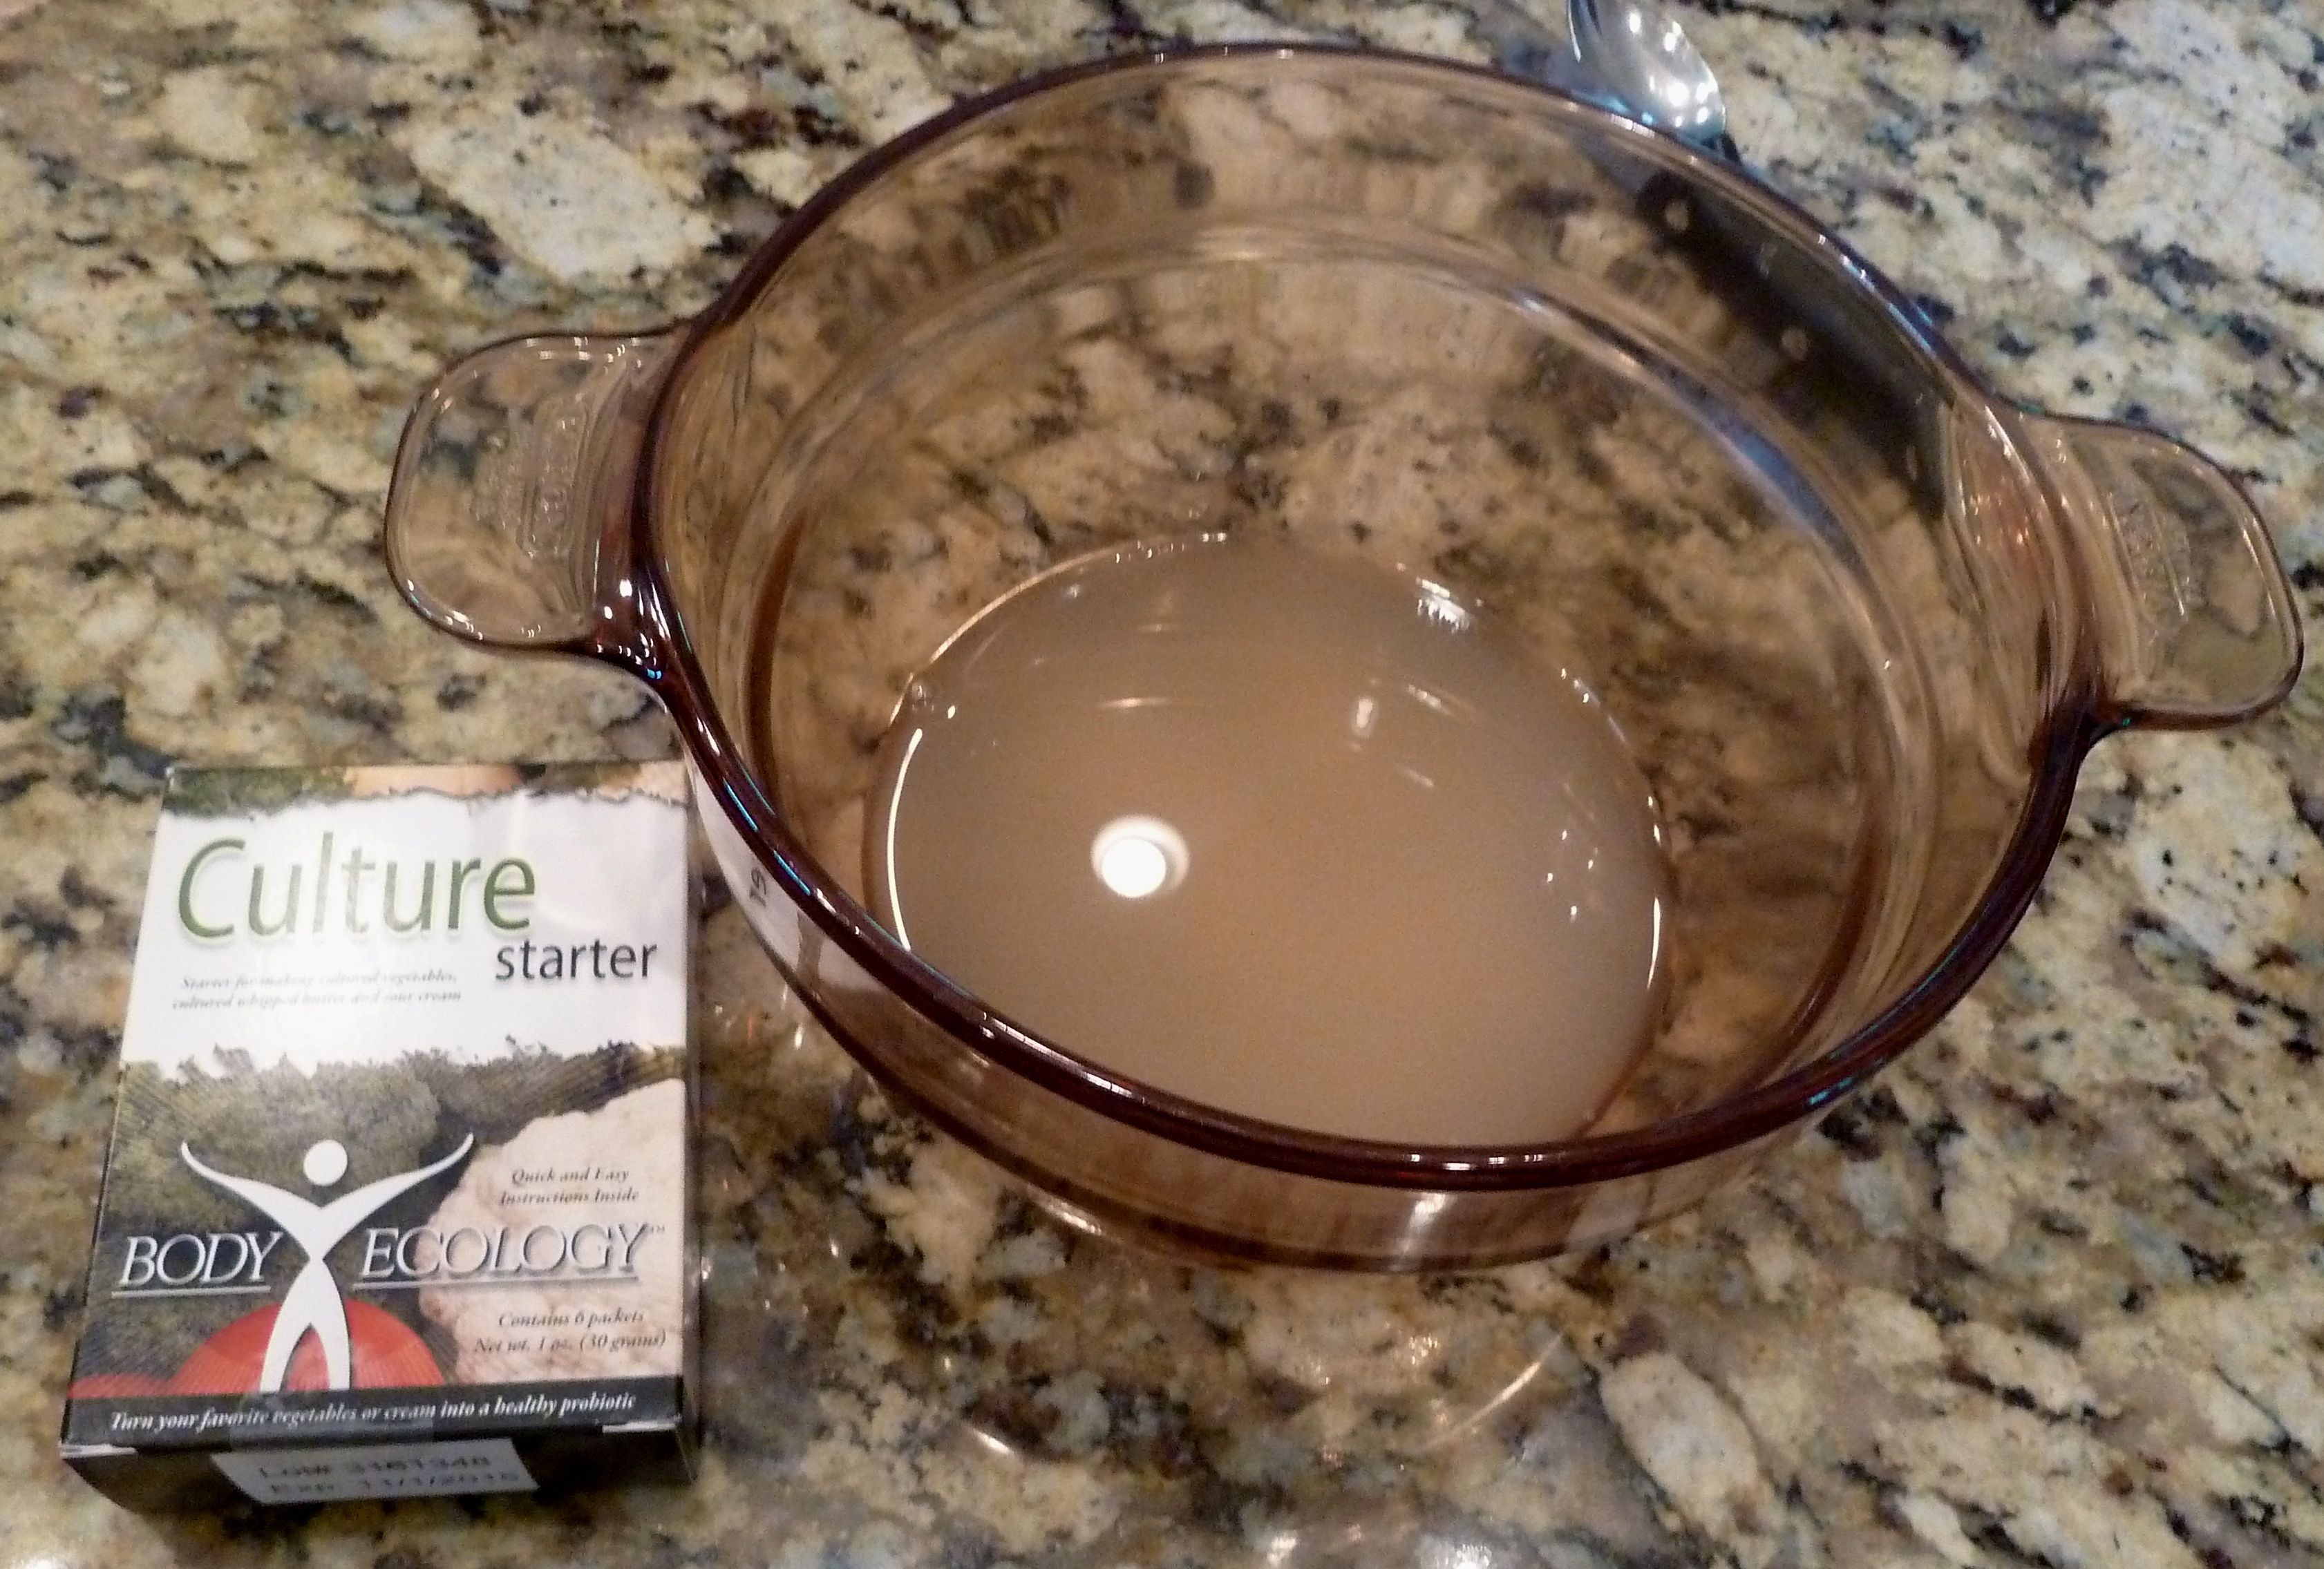
  4. In a small bowl add a packet of Body Ecology culture starter to tepid (about 92 degrees) water. Follow the packet directions. Add in a 1 Tablespoon of sweetener such as honey, agave nectar or EcoBloom. Stir gently and set aside while the bacteria begin to multiply. Allow the culture started mixed with sweetener to sit for at least 30 minutes.starter kit
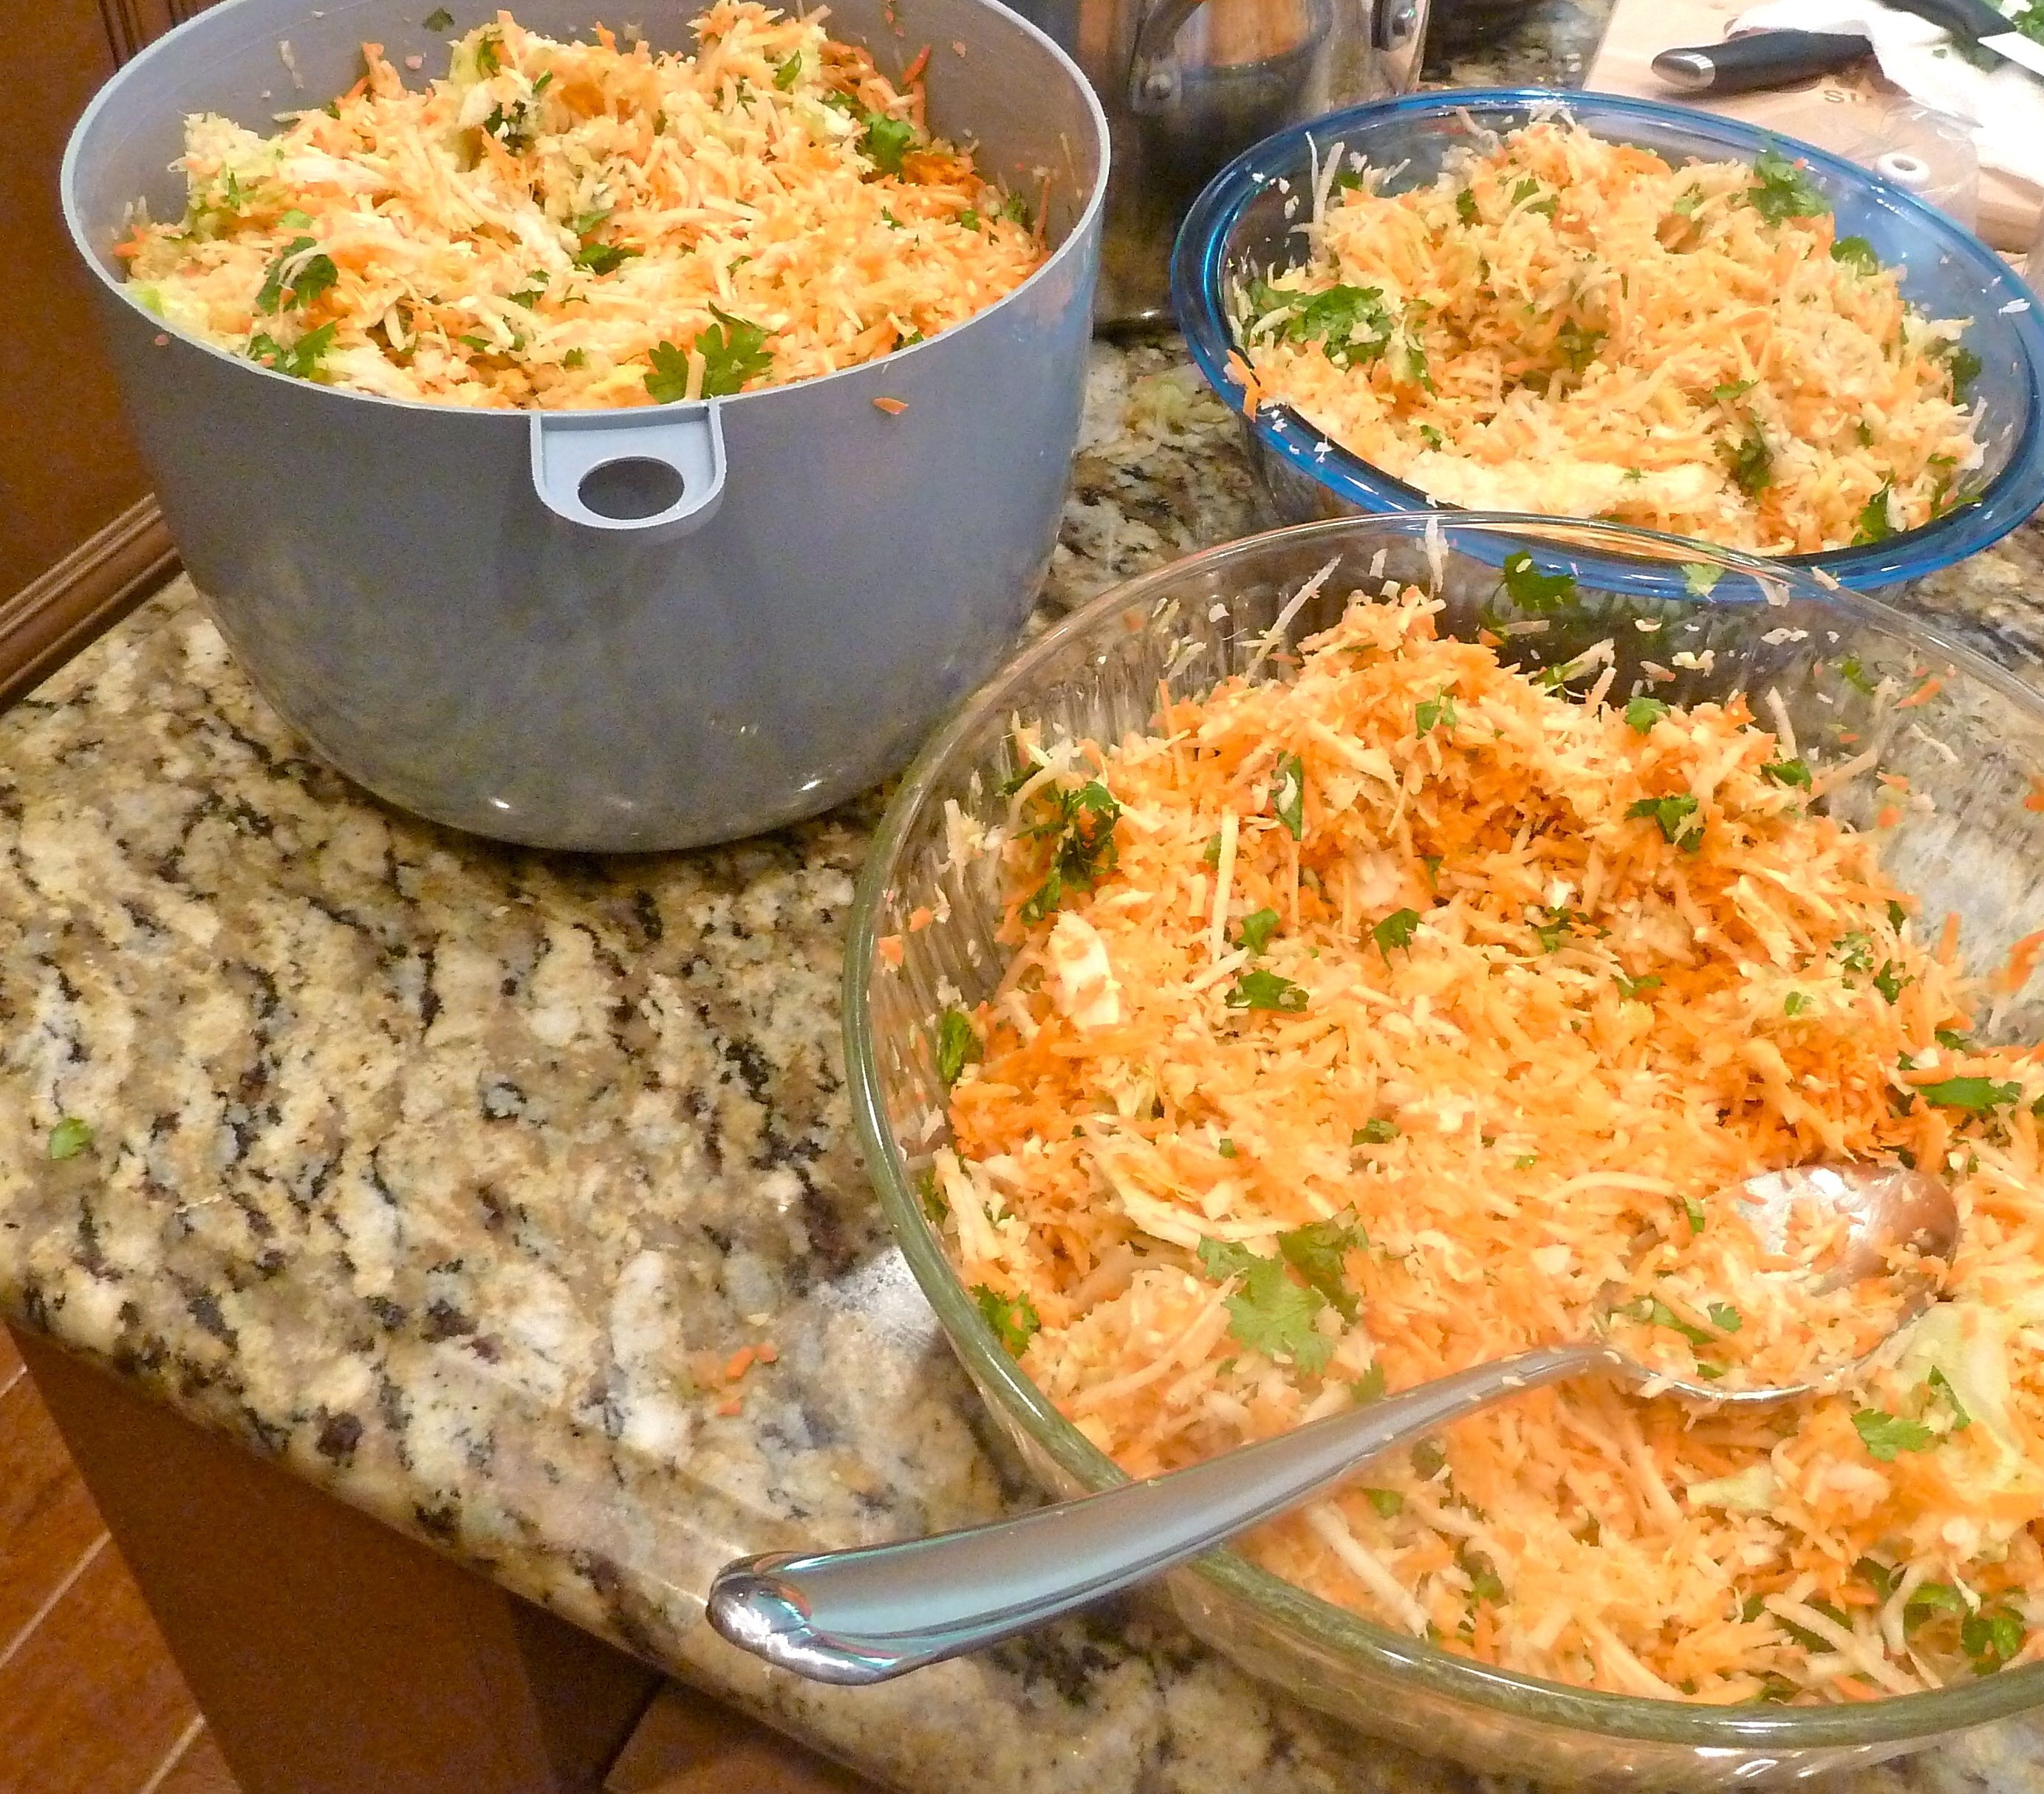
  5. Using your food processor with the grater/shredder attachment, grate the carrots, beets, sweet potatoes, onions, celery, and at least ½ to 1 whole head of cabbage. (Remember to save enough cabbage leaves, one for each jar of cultured vegetables.) Put the shredded veggies in the large bowl or multiple bowls. shredded veggies
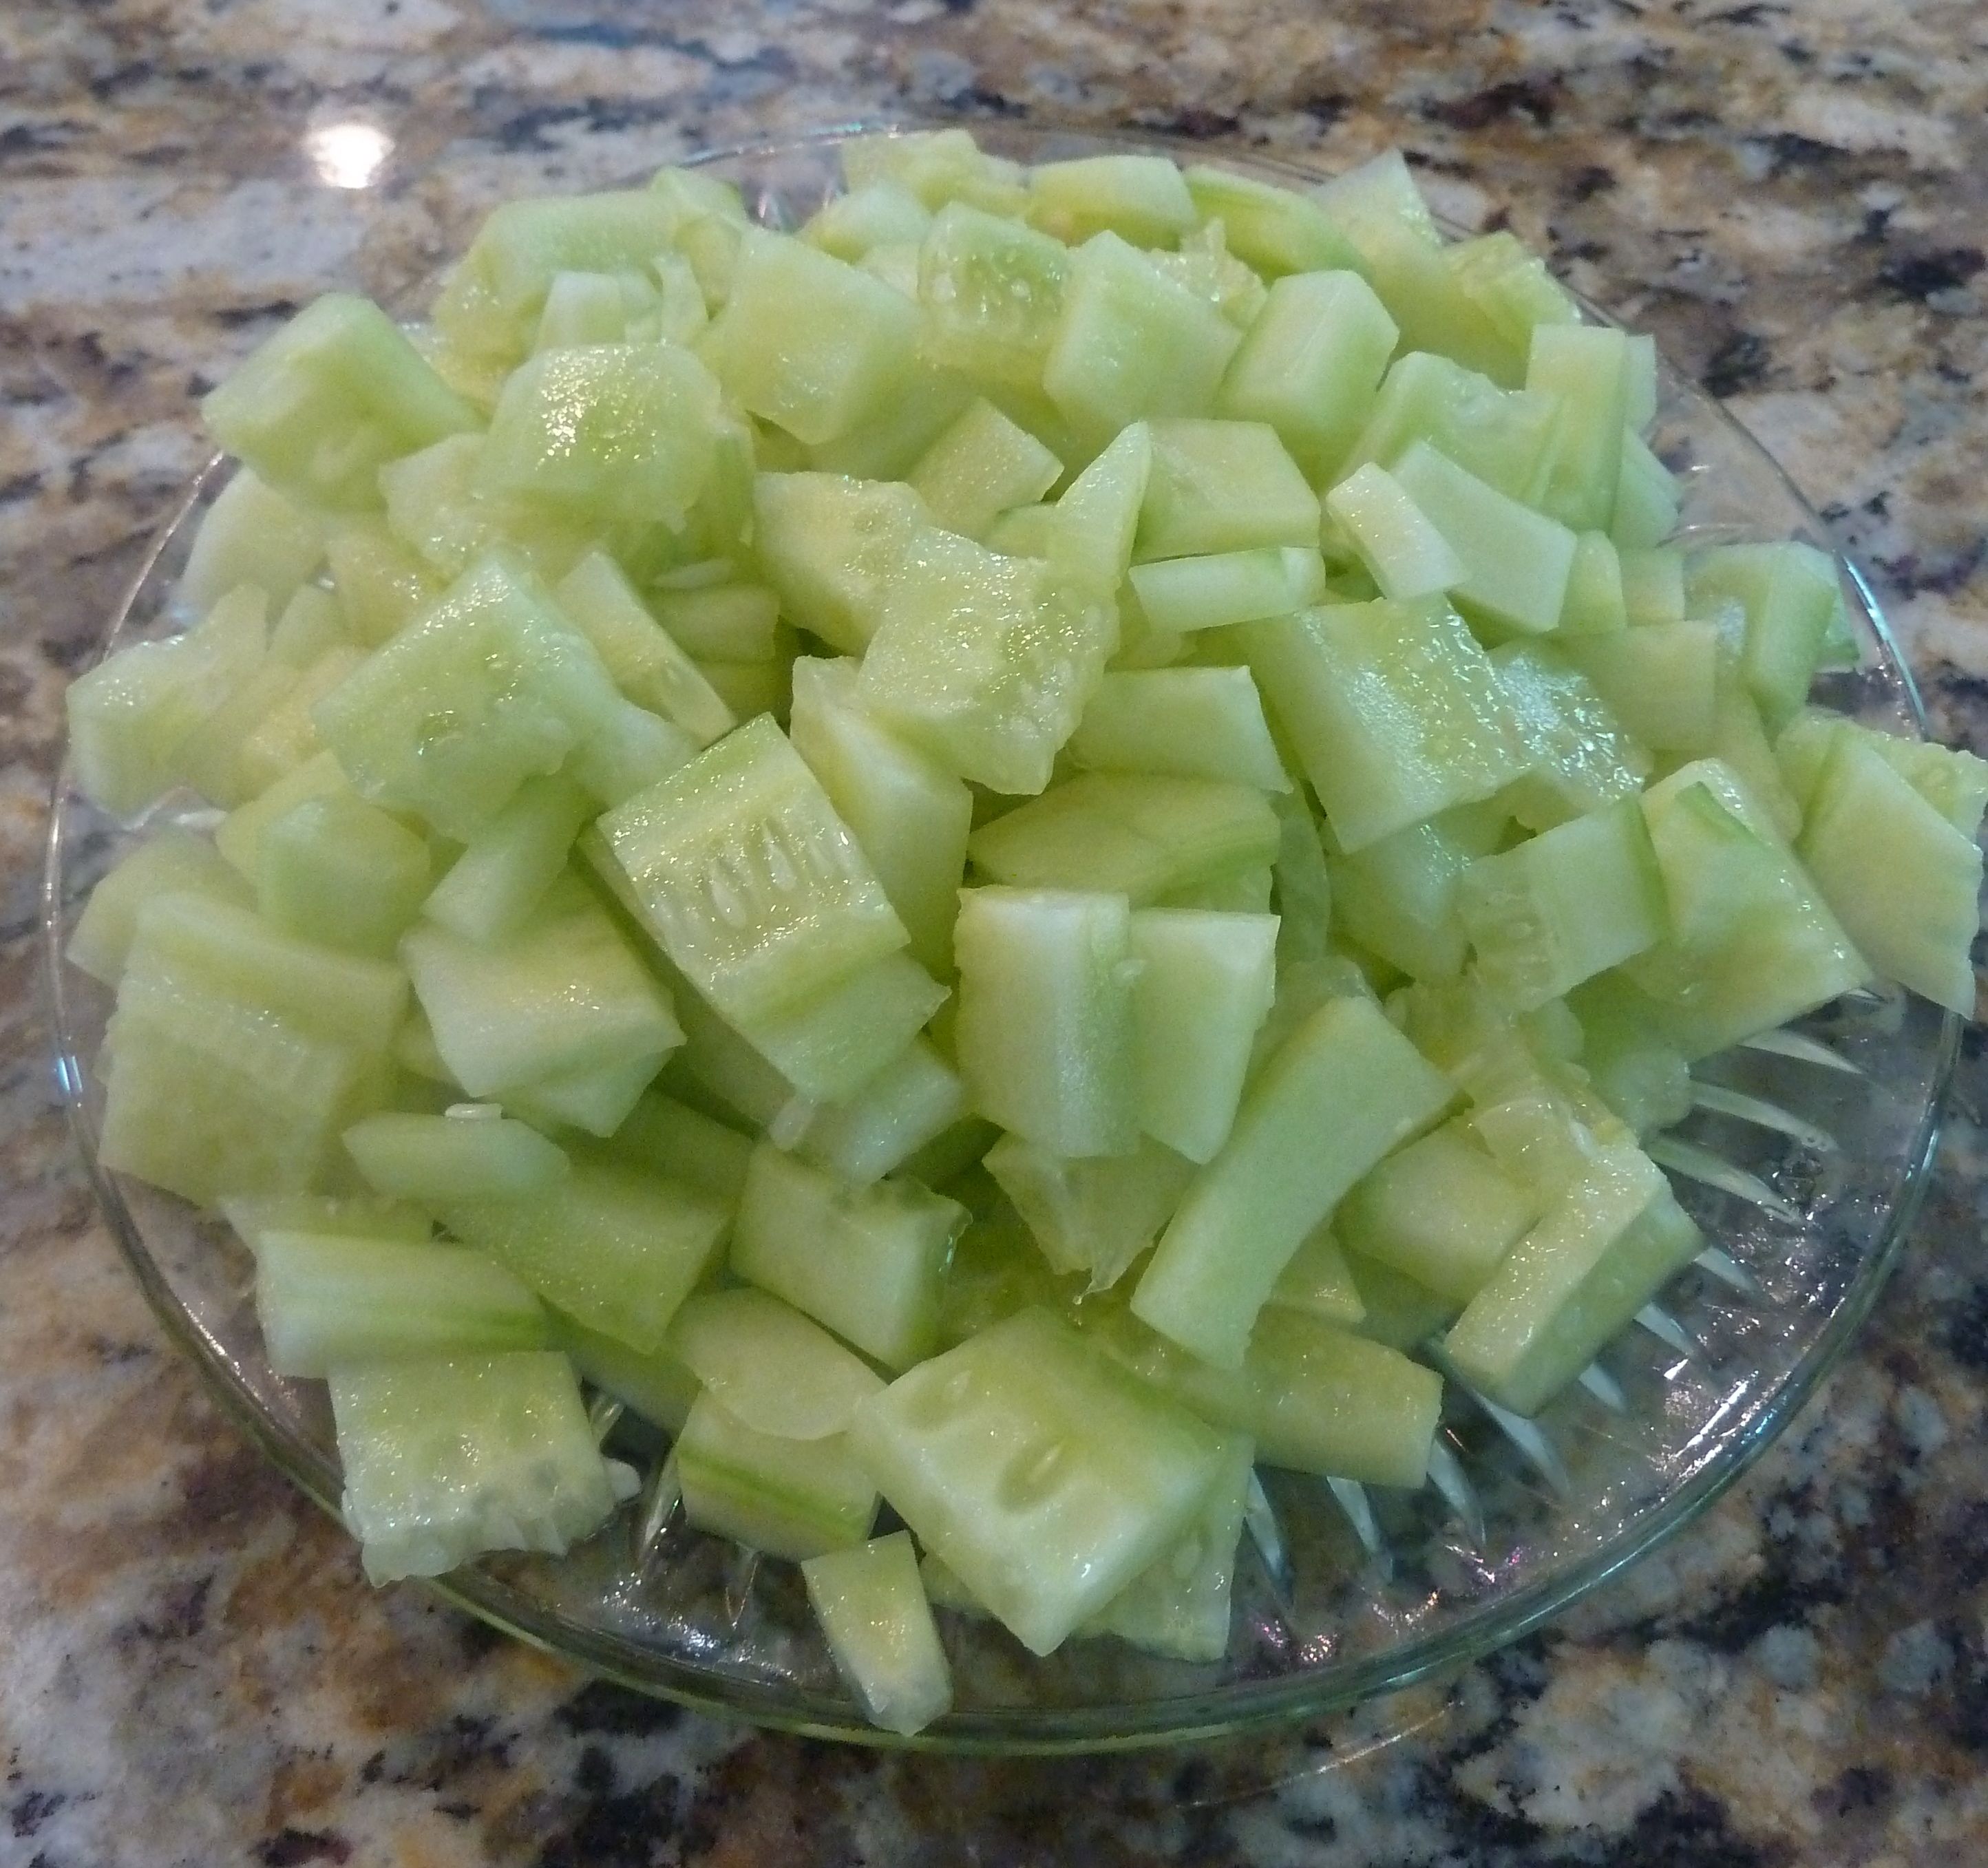
  6. Cut the cucumber into small ½ inch cubes and mix with the shredded veggies.cucumber
  7. Stir in the cilantro.
  8. Take out a 1/2 cup of the veggie mixture and put it in the blender with about 2 cups of distilled water.  Puree the mixture to form a brine.  Add the culture starter, if using, to the brine and mix well. Pour the brine into the bowl of vegetables and combine.blender
  9. Tightly pack the vegetables into the mason jars using your fist, leaving at least 2 inches of space at the top of the jars. Dip the cabbage leaves into some brine, roll them, and wedge them into the jars to force the shredded veggies below the surface of the brine.  Twistthelidson to the jars very tightly.
  10. Set the jars in a dark place at room temperature for 5 days, undisturbed.  After five days, try the veggies. If you want a stronger taste, leave the other jars at room temperature for up to 7 days. At the end of this time, wipe off the jars (some seepage or foaming may have occurred) and place in the refrigerator.  The vegetables are ready for eating at this point, although they will continue to improve over time.  They will keep for many, many months in the refrigerator.

Important – When stirring the starter culture, only use either a glass, wood, or plastic utensil to stir – never metal.

NOTE: If you choose to double or triple this recipe, you do NOT need to use multiple packets of the Body Ecology culture starter.  Just one is all you need!

Delicious ideas for how to use your fermented vegetables:

1.  As a side dish.

2.  Added to salads.

3.  As a sauce or topping.

4.  On a wrap or sandwich.

5.  As a dip.

6.  As a condiment.

7.  Use the juice to flavor soups and sauces.

8.  Mix with avocado to make guacamole.

EASY, DELICIOUS, KID FRIENDLY COCONUT RICE

A lot of my clients tell me their children don’t like the taste of coconut. One way that I’ve found most children will eat coconut without realizing it is by making coconut rice.

Health Tip

What makes my recipe different from others is that I add an extra step – browning the rice before cooking it. Browning the rice first will burn off some of the carbs and make it easier to digest. Also, it gives the rice a nutty, light flavor which is always a crowd pleaser.

Another reason this rice is healthier than standard rice is because of the added coconut, which is a healthy fat. Coconut fats have special fats called medium chain triglycerides (MCTs). It has been shown that breaking down these types of healthy fats in the liver leads to efficient burning of energy. For more information on the health benefits of coconut click here.

Here is my recipe:

Ingredients

2 cups organic white Jasmine rice

2 cups Native Forest coconut milk

1 cup vegetable broth

1-2 tablespoon coconut oil

Directions

  1. Add coconut oil to saucepan and heat on med-high setting.
  2. Add rice to coconut oil, stirring continually, and allow the rice to brown for 5-10 minutes. Keep an eye on it so it doesn’t burn.
  3. Add the coconut milk and broth and bring to a boil. Stir it occasionally to keep the rice from clumping together.
  4. Reduce heat and simmer with a tight-fitting lid for 15 minutes or until all the liquid is absorbed.
  5. Take it off the heat and allow to sit for 5 minutes before serving.

Tip

I like to double the recipe and then freeze half of it for a future meal.

HOMEMADE MAYO – A HEALTHY CONDIMENT

Have you ever thought about making your own mayonnaise?

If you have access to high quality organic or farm fresh eggs, it is easy to make your own and you know exactly what’s going into it! While store-bought mayo is convenient, most of it contains hydrogenated soybean oil and preservatives. Homemade mayo on the other hand is packed with protein and good fats.

Ingredients

1 large egg yolk

1 tsp lemon juice

1 tsp apple cider vinegar

¼ tsp Dijon mustard

Pinch of sea salt

¼ cup olive oil

½ cup avocado, walnut or olive oil

Directions

  1. In a food processor blend eggs, lemon juice, apple cider vinegar, Dijon mustard, and sea salt. Pulse until combined.
  2. With the blender on low, slowly add the oil one drop at a time until the mixture resembles mayonnaise (makes about a cup).
  3. If you prefer to make a sauce, blend until it reaches the consistency you desire.

To make pesto mayo, add 3 fresh basil leaves plus 1 garlic clove and 1 tsp extra virgin olive oil to step 1.

To make lemon dill mayo, add the zest of 1 lemon and 2 tsp fresh dill to step 1.

Or if you prefer to make a Hollandaise sauce …http://againstallgrain.com/2012/02/21/paleo-coconut-oil-hollandaise-sauce/.

The mayonnaise can be stored in the refrigerator for up to two weeks.

Enjoy!

Adapted from Against all Grain by Danielle Walker

Page 2 of 3

Powered by WordPress & Theme by Anders Norén